Amps By Dan Lurie • By Appointment Only • South Burlington, Vermont, USA • Call or text: 802-310-5967 • djlurie@comcast.net
Menu
Coil Split Mod for the Parker Fly Deluxe (and other stuff)
Here is a pictorial on how to install a coil split switch on a Parker Fly Deluxe. This method replaces the Mag/Piezo switch with the coil split switch. This will leave the Mag/Piezo selector permanently to the "Both" position. To select between the two you will either need to use the appropriate volume control or use a A/B breakout box.
The Split Coil switch provides the option to play all pickups in ALL Humbucker OR ALL Single coil. The ALL Humbucker / Middle pickup selector position is great and there is no volume loss when you switch from the bridge of neck positions.
Want one? Contact me!
Further info about photos in the slideshow
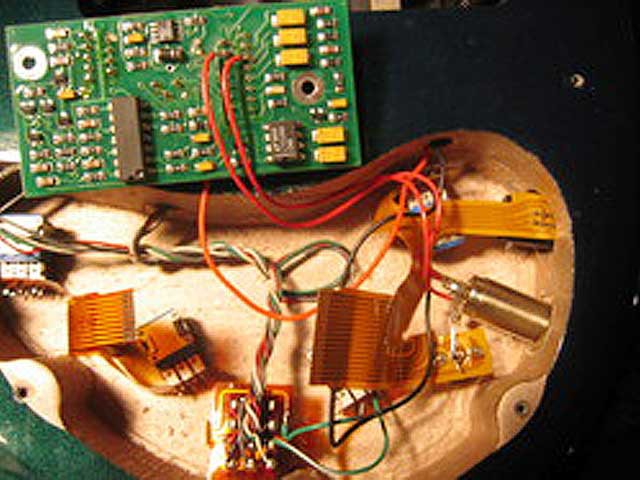
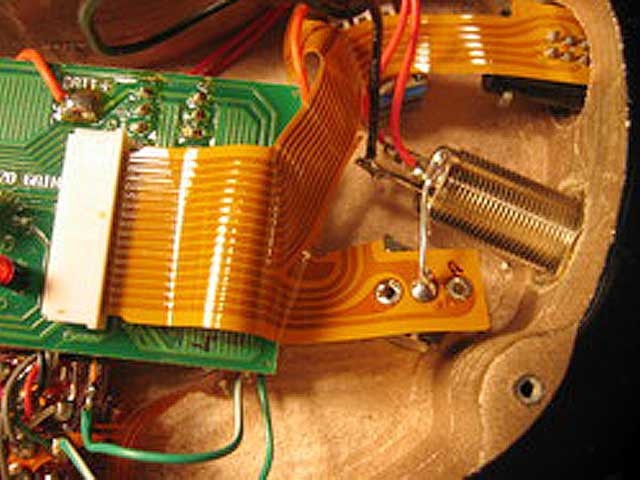
Inside This Guitar: The ribbon cables are disconnected and the circuit board is lifted out. This is a good picture of how the replacement pickup is installed. I received this guitar with a broken jack and some ribbon cable tears. All repaired and working.
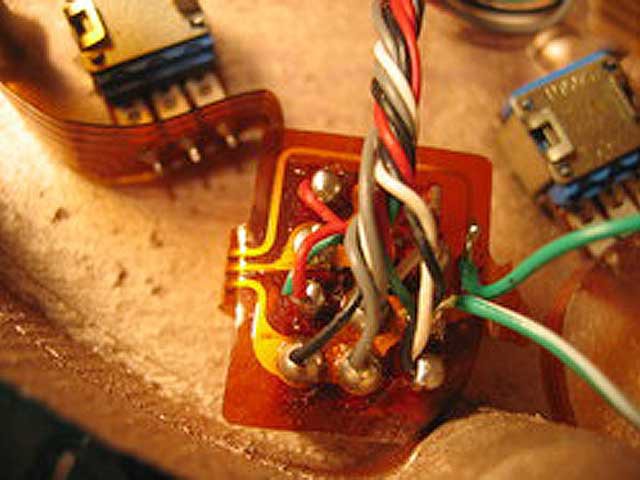
The Pickup Selector Before Work Has Started: Notice the Green and Red twisted wires on the left and the Black and White twisted pair on the right. We will remove these two sets from the switch with a soldering iron.
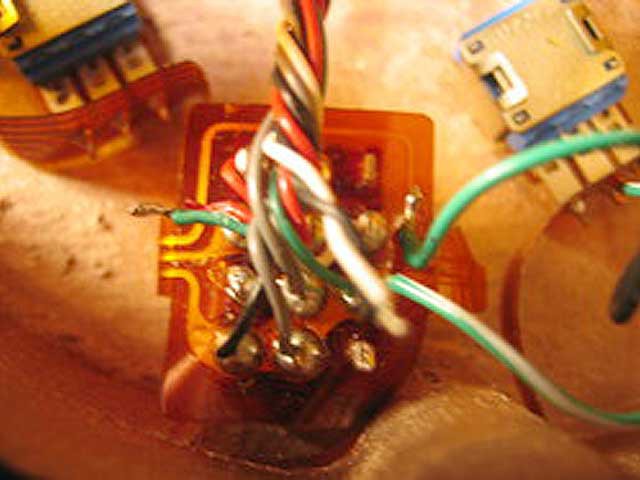
Split Wires Removed From Switch: Here is an important step. Remove the Coil Split wires from the switch. If you leave the Guitar like this with each pair still soldered together you will have ALL humbuckers all the time. Don't forget to insulate the ends of each pair!
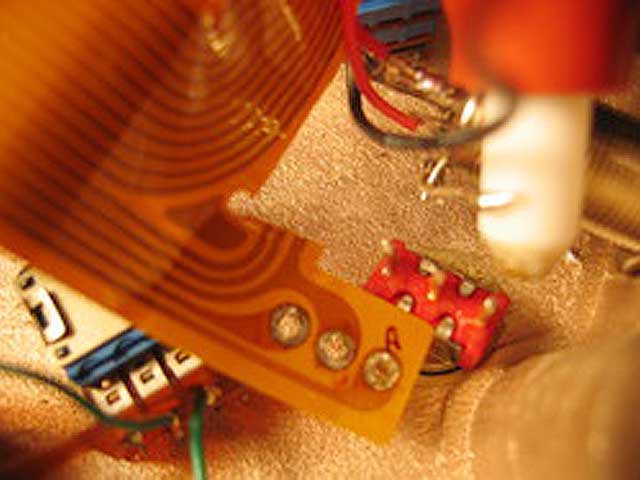
Remove The Ribbon Cable From The Mag/Piezo Switch: To remove the Mag/Piezo switch you will have to unsolder the ribbon cable from the switch. To do this use a solder sucker, heat the solder joint and suck the solder off of the joint.
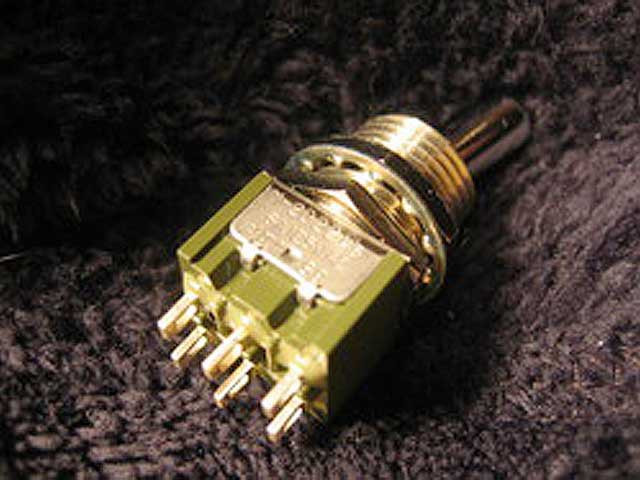
Important Step—Get A DPDT Switch: Almost forgot: You need to acquire a DPDT switch to replace the switch you are going to remove. The switch is a NKK toggle switch DPDT M2022BB1W01-RO (Mouser Part # 633-M202204-RO, Fig D). It matched the other switch well.
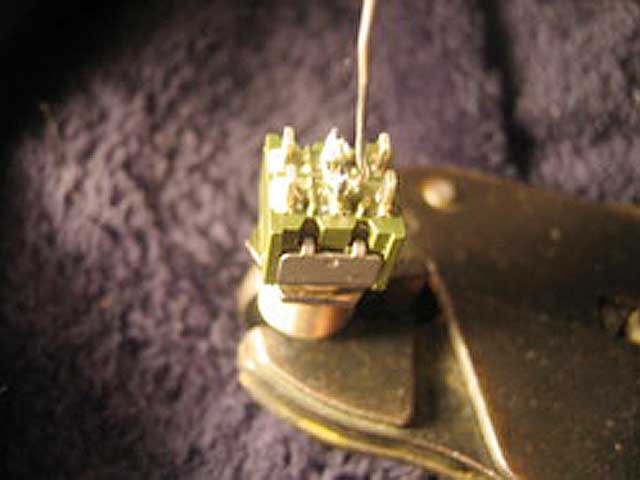
Prepping The Switch: Solder a piece of bare wire to both of the middle lugs on the switch with one end long for the next step.
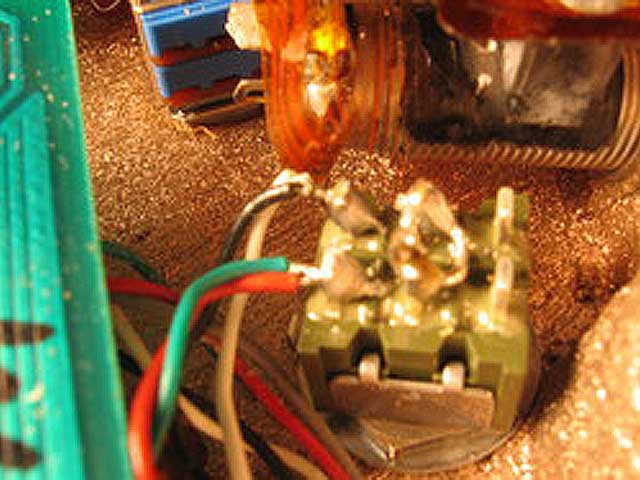
Solder The Split Wires From The Pickups To The Switch: Mount the switch onto the Guitar. Solder the two twisted pairs one to each lug on one side of the switch. If you solder them to the side closest to the circuit board (same as the picture) than with the switch in the down position will be the coil split position.
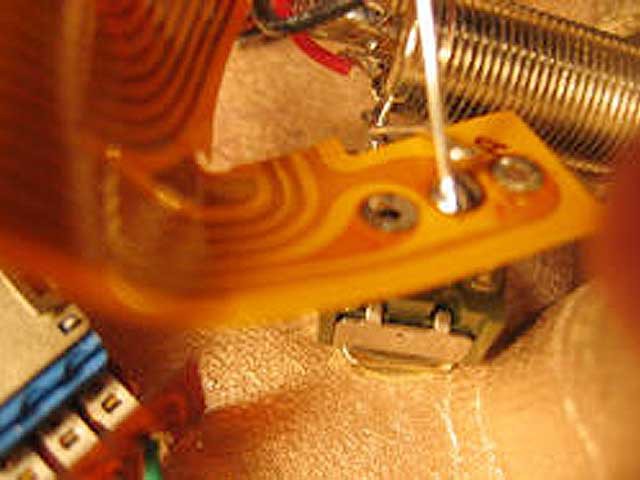
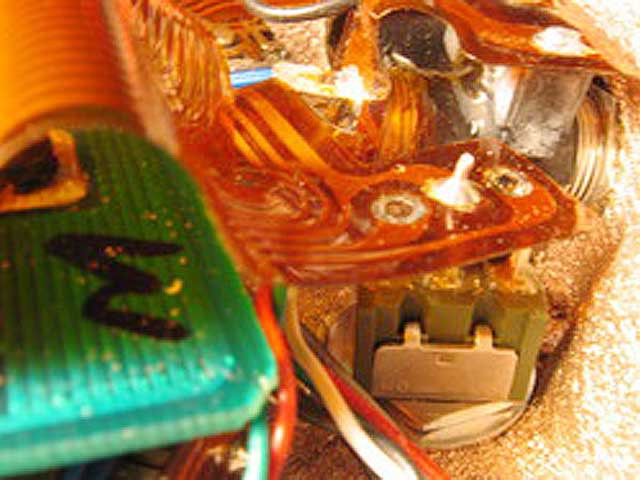
Solder The Ribbon Cable To The Switch: The middle connection on the ribbon cable we removed from the Mag/Piezo switch earlier is a ground. Solder the wire from the prepped switch to the ribbon cable. Leave enough space between the cable and the switch so the other connections on the switch and cable don't touch.
Project Done On The 1999 (Also Has Replacement Jack): All done on the 1999. This guitar also has the replacement jack installed.
Same thing done on a stock 1995: Coil Split switch installed on my 1995 ALL original Parker Fly Deluxe.
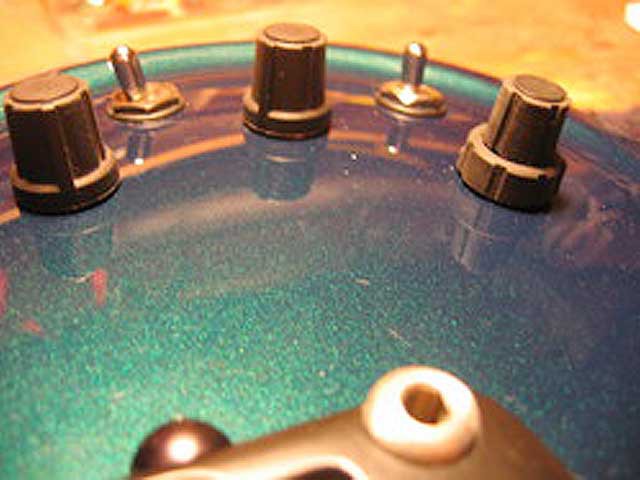
All Done!: This is a picture of the switch in the ALL Humbucker position. Notice how well the new switch matches.
FYD Amps & Tube Amp Repair
South Burlington, VT, USA • By Appointment Only • Call or text: 802-310-5967
www.fydamps.com • djlurie@comcast.net


www.fydamps.com • djlurie@comcast.net


© FYD Amps & Tube Amp Repair • Designed By Rainbow Graphics
