Amps By Dan Lurie • By Appointment Only • South Burlington, Vermont, USA • Call or text: 802-310-5967 • djlurie@comcast.net
Menu
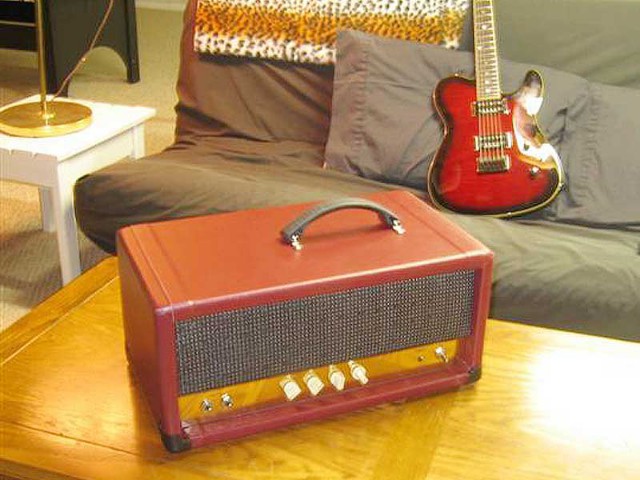
Built a Matchless Lightening from scratch
I used the current schematics available on the web and flipped the entire layout to be a head style amp.
Click here see the original schematic that inspired this build. Thanks Trinity Amps!!
Further info about photos in the slideshow
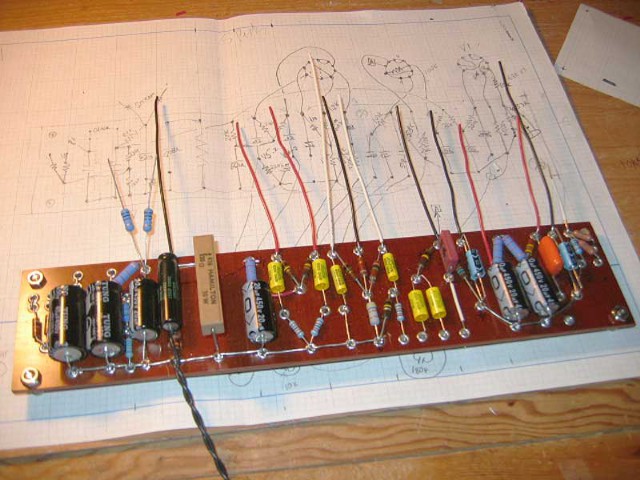
Modified Installed Board - The layout behind is the layout I put together to build this board. It is flipped from the original. The filtering is spread out across the board instead of all on one side.
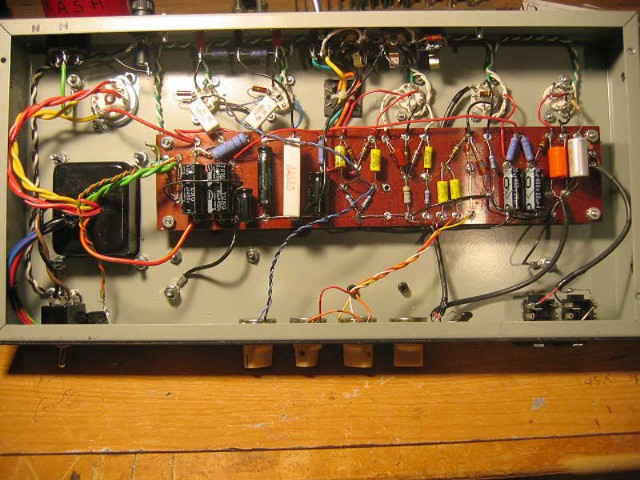
No Cab Yet - Installed and modified. I was looking for a cleaner sound. The original board shown above was changed to this.
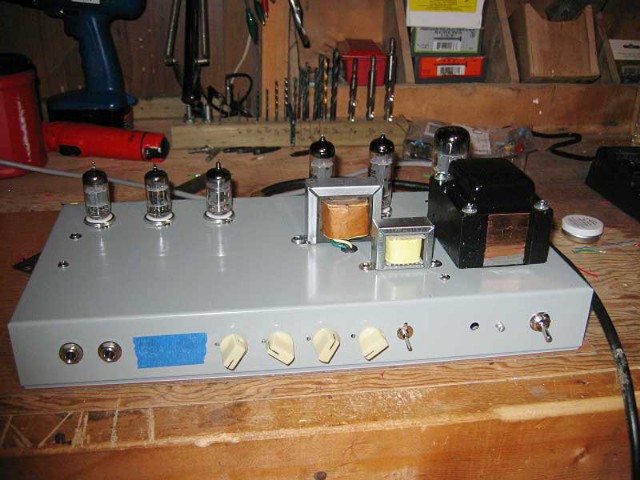
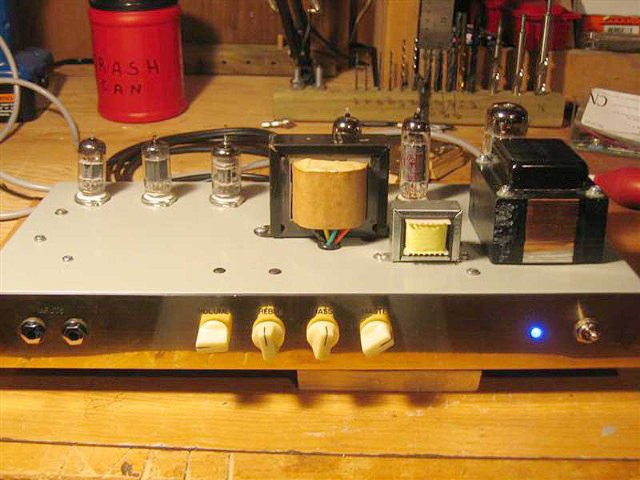
Chassis Done - Chassis with new OT, tubes and faceplate. Not too many changes here:
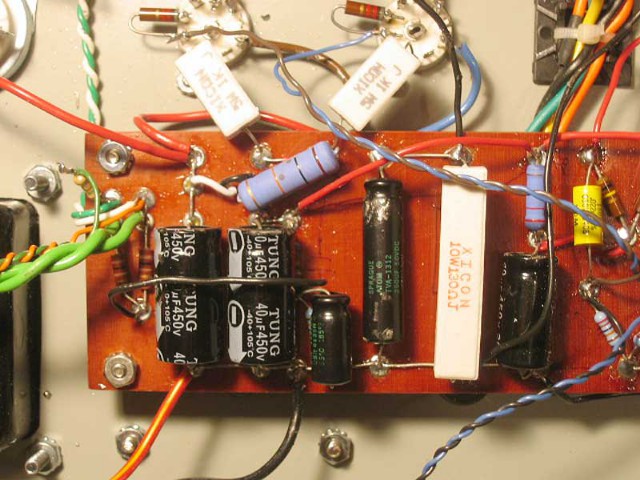
- Changed the decoupling on the screen supply. Removed the 20uf cap and changed the resistor to 10k.
- Screen resistors are now 1k
- That little black cap is part of the DC lifted heaters. The voltage divider resistors are hidden ubder the big 20uf cap.
- What you can't see in this are the bias test points and resistors on the back panel. I use these to match up the power tubes.
Preamp side - This is the first build. I changed the output transformer later.
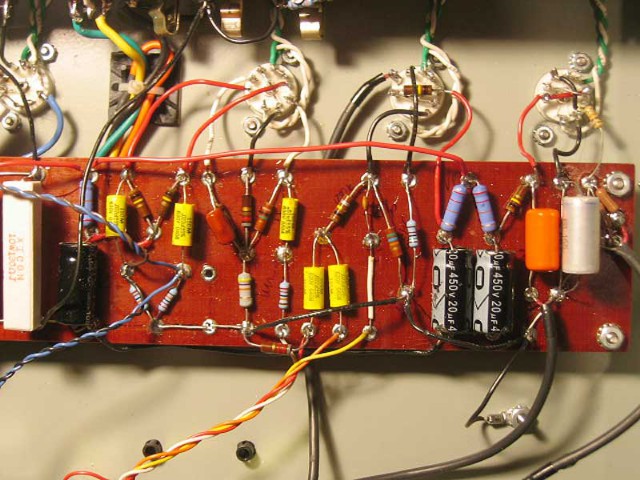
Power Amp - Notice the changes from right to left:
- Grey cathode cap - .68uf
- Orange coupling cap - .022 uf
- Second gain stage - no cathode cap
- 250pf and the standard Fender tone control. See the 8.2k (grey/red/red) that is the midrange set for the tone control.
- 100k to ground on PI is omited.
- .01uf on PI is moved from ground.
FYD Amps & Tube Amp Repair
South Burlington, VT, USA • By Appointment Only • Call or text: 802-310-5967
www.fydamps.com • djlurie@comcast.net


www.fydamps.com • djlurie@comcast.net


© FYD Amps & Tube Amp Repair • Designed By Rainbow Graphics
